I Said I Wouldn't Do This!

Ok, I was talked into creating a blog to showcase my creativity. I have been resisting this for far too long, but now is the time to finally get the ball rolling.

So here goes. Come with me on my journey into creativity.

Wednesday, December 7, 2011

TH 12 Tags of Christmas - Day 4

I'm trying to catch up, but work keeps getting in the way.
So here goes.  Tim Holtz keeps amazing us with all sorts of techniques.  Some that I remember from last year , along with lots of new ones.  The Alterations dies that he has created are fantastic and very versatile that I had to go buy some that I'd not planned to buy.  But after seeing what he did with them, they were a must have.

Check out his day 4 tag: http://timholtz.typepad.com/my_weblog/2011/12/12-tags-of-christmastag-4.html


DSC01020

So after getting the rest of my supplies, I have now created this tag .  I think I did a pretty good job in creating it.  Its very time consuming because of the crackle paint and having to let that dry.  But that gives you a chance to make all of the other components and get the tag ready for the snowman.

I used most of what he showed, and improvised on what I didn't have.  Here's the final outcome:

Tuesday, December 6, 2011

TH 12 Tags of Christmas - Day 3

Ok, I'm a little bit behind due to work and other things that are busy on my schedule, but I'm determined to get these done.

Here's Tim's Day 3 tag:

DSC00927


I know I have some bells and jute cord in my stash, but it is eluding me tonite.  So, I'm going with what was out in the open.  LOL!


Recipe:
Shipping Tag
TH Christmas Background Embossing folder
TH Season Silhouettes Christmas Background Stamp
Various Distress Reinkers
TH Bauble
Rhinestones
Ribbon
MS Holly Leaf Punch
MS Branch Punch
Shimmerz Spray


Sunday, December 4, 2011

TH 12 Tags of Christmas - Day 2

Ok.... we're off to a great start.  I completed my day 2 tag and had to do a little improvising.  As I stated in my day 1 post, I'm trying to use what I have in my stash with minimal purchases for supplies that I absolutely must have.  LOL!  Thats what I keep telling myself.

So here is Tim Holtz day 2 tag: http://timholtz.typepad.com/my_weblog/2011/12/12-tags-of-christmastag-2.html

DSC00771

So in scrounging up my supplies, I found I didn't have half of the items he used in this tag, but I'm going to do like Tim Gunn says "Make it work".  LOL!

So for my tag, I went back to my Cricut cartridge and cut the Reindeer from Very Merry Tags, as I had done last year.  I used Grunge paper to cut it out and then inked it with Frayed Burlap.  The Holly leaves were cut from the MS Leaves punch.  While talking to another Tim Holtz fan, we discussed how to make the paper using our stash.  So I took a piece of Kraft paper and stamped it with the Recollections Musical Note stamp using a black permanent Archival ink.  I then embossed some holly leaves and the words "Christmas Carol from TH Christmas stamp set.

I didn't have any of the Picket Fence ink that he used, so I lightly used my Snow Cap Paint dauber and rubbed some off before it dried.  I think my Kraft resist version came out really nice.  I used a TH On The Edge die to cut the bottom piece out of grunge paper.  I inked it with Gold Paint dauber, and then inked the edges with Vintage Photo Distress ink.  I added some brads to the bottom after adhering the grunge paper to the tag.  For the final touch, I added the "Believe" charm to a piece of ribbon from my stash.  I'm proud to say that all the supplies used were from my stash.  Yea me... WTG!

And now, for my tag:

Recipe:
Kraft Paper
Recollections Musical Note Stamp
TH Christmas Carol Stamp
Holly Leaf Stamp
TH Brads
TH Ornate On The Edge Die
Andironak Snow Cap Paint Dauber
TH Grunge Paper
TH Frayed Burlap Distress Ink
TH Vintage Photo Distress Ink
TH Seasonal Distress Ink
Cricut Cartridge Very Merry Tags - Reindeer
MS Holly Leaf Punch
Red Rhinestone


Tim Holtz 12 Tags of Christmas - Day 1

Hey Everyone!
Its that time of year again.  I played along last year and I'm going to attempt to play along this year.... all dependent on my work schedule.


So, Tim Holtz is at it again, charming us with his 12 Tags of Christmas.  He is off to a fantastic start.  I'm a few days in posting my first tag, but I hope to catch up and post the days tag by midnite of each day.
His first tag is simply amazing.


Here's his day 1 tag: http://timholtz.typepad.com/my_weblog/2011/11/12-tags-of-christmastag-1.html
DSC00710

In my opinion, the point is to create the tag, but not necessarily exactly as its displayed unless you want to.  I get a kick out of using whats in my stash and putting my own twist on it.
I started off by embossing a tag with the Tim Holtz Tag Die  and made from the Coredinations paper using the Sizzix Snowflake folder, embossing ink and white embossing powder.  I used the Storybook Cricut Cartridge and welded Noel together on Grunge Paper.  I added glue and sprinkled the MS silver glitter all over it an set it to the side to dry.  I created the banner from the Cricut Cartridge out of Kraft paper.  I stamped with a Recollections Musical note stamp and then inked the edges with Frayed Burlap.  The branches were cut with the MS branch punch from brown Coredinations paper.  The leaves were cut with the MS leaf punch from Green Coredinations paper, folded down the middle and sanded.  The edges were inked with the Snow Cap dauber.  The ribbon was borrowed from a friend at a crop (thank you Karina).  And lastly, I loved the pinecones that I stumbled upon at Michaels. 


So, heres my tag:

 Close up details of the bottom.

Close up details of "NOEL"

Recipe:
Tim Holtz Coredinations Paper (Blue)
White embossing powder
Sizzix Snowflake Embossing Folder
TH Baubles
TH Grunge Paper
TH Frayed Burlap Distress Ink
TH Distress Embossing Ink
Andirondak Snow Cap Paint Dauber
Mini Pinecones (Michaels)
Red Stickles
MS Leaf, Branch Punches
MS Silver Glitter
Kraft paper Banner cut from Cricut
Noel cut from Cricut Storybook Cartridge

Sunday, October 16, 2011

CTMH Card Box Workshop

A good friend of mine is a CTMH consultant and is trying to get her business going, so she is having these weekend workshops.  Decided to take some time out of my busy life and go to the one she had this weekend.  Funny thing... she told those that were coming that I was coming and you know how creative Helen can be.  So if you need some ideas, you might want to come to this workshop vs waiting for the next one.  Gotta love em!

This weekends project was the card holder box and 4 cards.  We were told to only bring glue... so I brought my Scotch Quik dry glue, Tattered Angels Glimmer Mist and Ranger Glossy Accents.  Since I'd seen the partially completed project, I wanted to use a different glimmer mist than what she was providing.  I tend to try to dress things up when I can.  So... on went the day.  I was allowed to use my own glimmer mist and sat out to do the box as instructed.  I had a little booboo (yes, I do make those on occasion) and one of my fellow scrappers followed me and did the same thing.  No problem!  We just got an extra piece of paper and finished it up correctly.

Then we had 4 cards to make.  Some of them were a bit plain for my liking and ... lol.... yes, I had to dress it up a bit.  I asked for the punches, some bling, flowers, etc.  She pulled out the new CTMH cricut cartridge and cut some other embellishments for all.

Terri's (consultant) MIL sat next to me and while I was finishing up a card that I'd embellished a bit more decided she liked what I did.  I had accidentally covered up the card and she said "how can I copy it if you cover it up".... LOL!  I just handed it to her.  It was a fun day.

I think my box needs some lace on the bottom and a few flowers on the top.  I will do that later.  But for now, here are the final products.

 The box and the 4 cards.


  Top of box. I added the Ranger Glossy Accents and Pearls.  Need to add the flowers to the top also.

 Used an EK Success punch and inked all the edges.

 This one needed some fancy borders.  Used an EK success punch on this one also.  We were originally given 3 pieces of paper  - the patterned paper, and the 2 layerd pieces for the sentiment.  I added the longer purple sheet that I border punched.  Added some bling and dressed it up a bit.

 This one begged for the corners to be rounded along with more border punches on the patterned paper.

This was the exact paper, but again, I chose to use an EK success border punch for the papers.  Added some punched flowers that were pop-dotted up and a leafy branch from the CTMH cricut Cartridge.

Breast Cancer Awareness Month

This is Breast Cancer Awareness month!
This is a month in which we honor  those who are Survivors and keep strong in our hearts those that have passed on.

My mom is a double mastectomy survivor and November 2nd marks her 12th yr since she had her surgery.  I am truly blessed to have her with me.

Since 2007, I made a vow to keep alive the memory of those that have passed on and those who have survived this battle.  Back in October 2007, I walked in the National Susan G Komen 3day 60 mile Breast Cancer walk.  I made it a commitment to walk each year for as long as my legs will allow it.  When I became unemployed in 2009, unfortunately, I could not keep my commitment, but made a promise to myself that when I was fully employed again, that I would make the journey happen.
This year, I am proud to say that I am walking in my 3rd 60 mile walk.

Today I have a fundraiser to help me reach my goal.  In order to walk, I have to raise $2300.  I am 78% of the way to my goal as of today.  I walk on November 18 -20, 2011 in San Diego.  I decided to bring back my bowling fundraiser and hope that it is successful.  Given these economic times, my donors have not been able to contribute as much as they have in the past.  Go to my page to learn more about this walk.

I created some glass etched mugs for sale today along with some other things that I hope will bring in some extra funds.


 Hope

 Survivor

 Walk for the Cure


Wear Pink

Friday, October 14, 2011

Sympathy Cards

There have been so many passing of loved ones lately, that I find myself making more and more sympathy cards.  So to those who have lost a loved one recently, my condolences to you and your families.

Thursday, October 13, 2011

Writing what I feel.............

But... I think I'll keep my thoughts to myself for right now before I say something that will piss off someone else.  LOL!

ATC's and .........

Of course, they were swaps.  Did you think otherwise?
These were done over the past 2 months... but ... lol.... I'm a wee bit behind in posting.

So , the first one, you were to pick a lesser known holiday.  The theme is ... FUNDAYS of August. Celebrate the un-known holidays of August. 
You can find a full list of Lesser known holidays in August at the link below.

While browsing, I also want to really make it interesting in finding about something in history.  I chose August 24th.  Curious to know....he he.  Well, lets take a look.

Isn't this just too adorable!  Its Mt Vesuvius Day!  It erupted on that day.  Oh gosh... why can't I think of the movie in which this was a Jeopardy question.  Things that start with the letter "V" .  It was the movie in which he won the lottery and her ambition was to be a contestant on Jeopardy.  Somebody give me a clue!  When I remember , I'll come back and update this.  LOL!

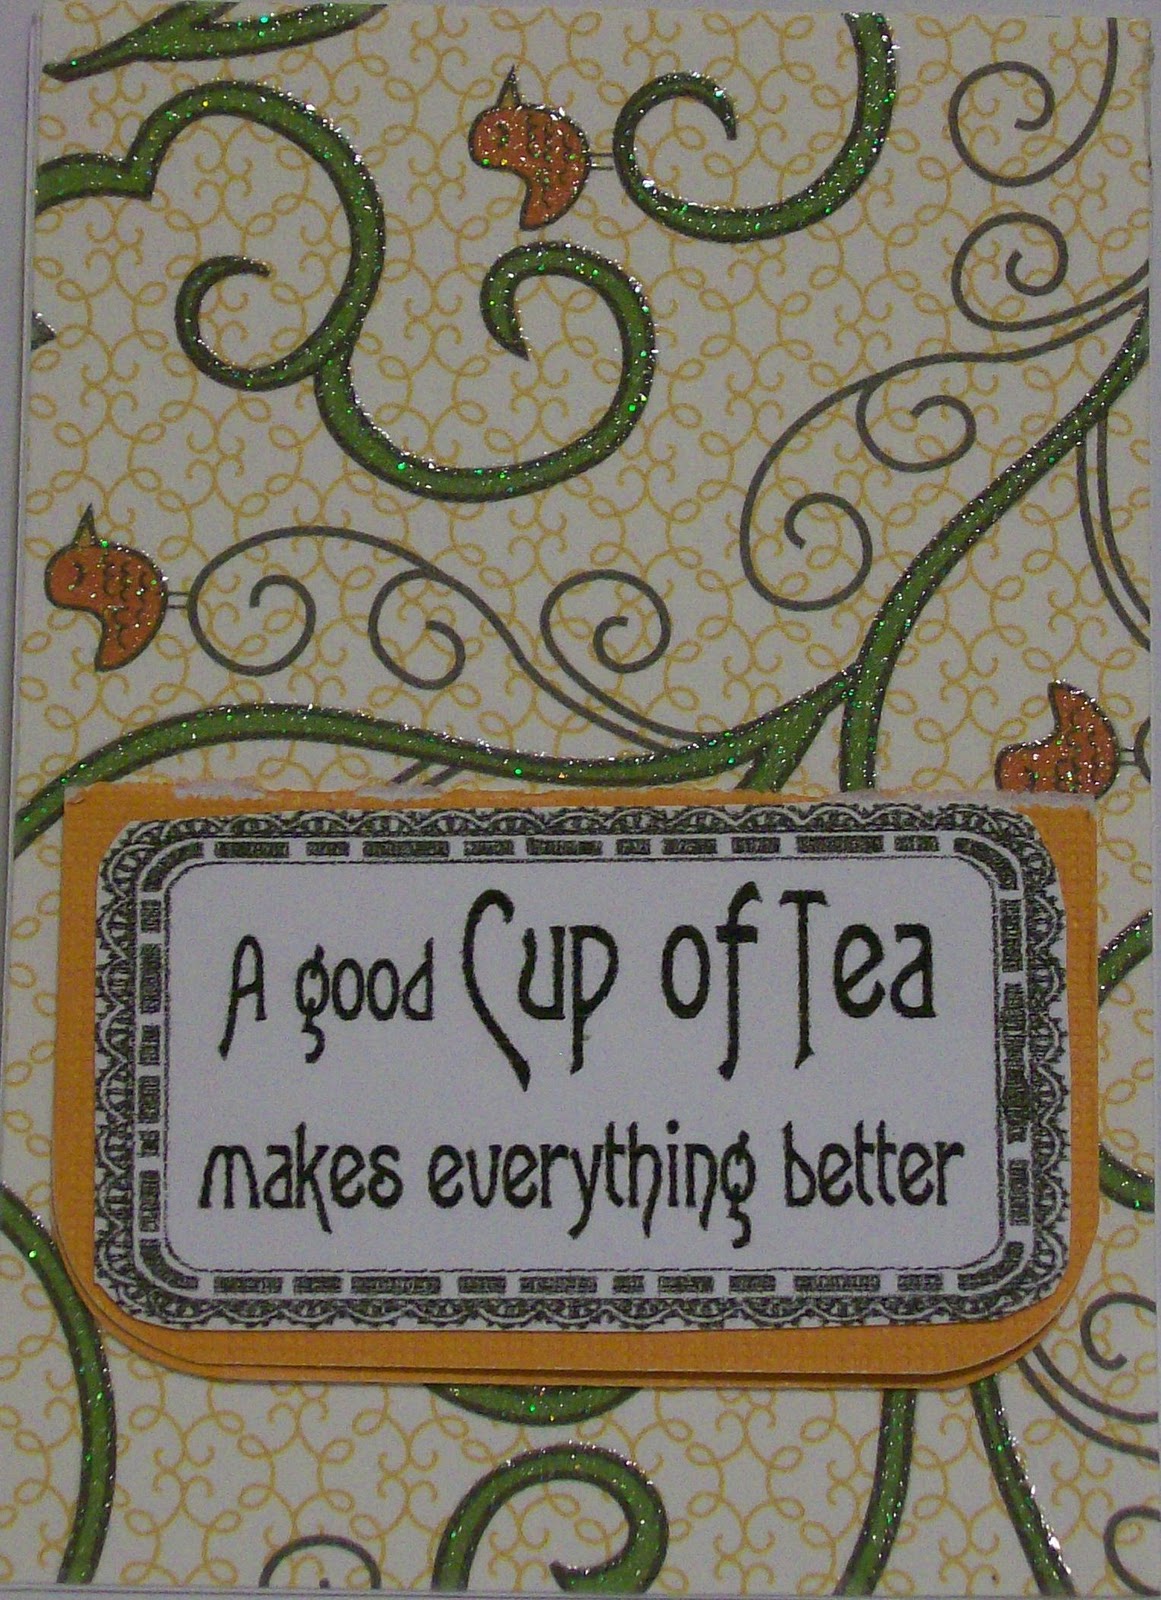
And on to September's theme........TEA TIME!
I remembered I had this perfect patterned paper in my stash.  So I used that along with a Cricut cut.


Cigar Box Swap - Sewing Themed

So, I keep joining all of these swaps , but keep forgetting to post to my blog about everything that I've been doing.  This one was also on Stampin' Dymonz Scrap Shack.

In September, the theme for the cigar box was Sewing.  I knew just the paper that I was going to use and started gathering the embellishments that I needed to make this a good one.  You also had to include the colors Aqua Blue and Red, along with 2 handmade items , one of which should be a pin cushion.  We had all sorts of fun with this.  The pin cushion that I wanted to send, I didn't get it finished in time and needed to get the box to its recipient.

The person that received it took some fantastic pictures which I included with mine.
Here's the box:
 Front of the box

 Inside with the dressform notepad.
 Top of the box
 Another view of the top of the box
 Closer view of inside with Dress form notepad.
 This is how it was all packaged. 
I had posted this in an earlier post, but didn't want to show the actual box until after the recipient got it.  I hope she enjoyed it and all the things that went with it.

Saturday, September 3, 2011

Sabino Canyon

So, I'm training for my Susan G Komen Breast Cancer 3 day 60 mile walk thats coming up in November.  I called my teammate to say lets go out this morning because I needed to do some hills.  We're doing the walk in San Diego and I've been told there are quite a few hills during the 3 days.

Sabino Canyon is 3.7 miles to the top.  Hills are not my friend and never have been.  I have asthma and its always slowed me down.  We were going to play it by ear this morning to see how far I could get up that mountain, and I'm not one much for defeat.  So I pushed forward.  On the way up... I forget where we were in the journey... maybe around mile 2, we heard a hiss and a rattle... so I jumped away from that edge.  Yep, it was a rattlesnake.  We stayed our distance, but went back to look at it.


Then we proceeded on up to the top.  If you get to 3 miles, you might as well continue the last .7 miles to the top.  Yes, I did it.  Here's the proof.


This is me with my teammate Wanda.

Then on the way down, we ran across this in the middle of the road.
Yep... its a snake.  It wasn't a rattler, but I just waited for it to slither on away.  Don't you want to come join me for some adventure?


Wednesday, August 31, 2011

Cricut Cartridge Storage

So, I'm trying to get my scraproom organized... like really organized.... so I can actually scrapbook in here vs all over the house.  I've been slowly trying to do things and do them right.  What I actually need is a professional organizer to just come, do it and get it over with.  Wishful thinking!

I have amassed quite a bit of Cricut cartridges.  I love using my Pink Expression , and no, I can't leave out my Create.  I usually take my Create when I go to my crops.  In talking with one of my good scrapbooking buddies Karen (check her out on Still Young and Croppin ), we were discussing space issues.  She challenged me to get rid of the cricut cart boxes because they were just taking up space.  So, I posted on my local scrapbook group website that I had boxes to give away and people emailed me to say how many they wanted.  At the next crop, I loaded them up in the car and off they went.  Now, I had valuable space for something else.

I had bought a Gypsy which I'm trying to use more often and have no need to carry all of those carts with me everytime I go to a crop.  I have them in 2 separate storage containers... one being the Cgull cartridge bag.  This was not working for me, so I set out to find a better system.

My dear friend Shirley ... who's head is big enough, so lets not even brag too much on her... with all of her awesomeness... has created some wonderful .cut files for Design Studio over the years... created a cut file for cartridge boxes.   Check her out on Okieladybug .  You'll be amazed.  I had the good fortune to meet here a little bit back and boy did we have fun.  I have the pictures to prove it (blackmail... lol) .  She found some storage at Staples for these boxes called "Really Useful Box" in the 9L size.  They will hold 84 of these cartridge boxes.  If you go here , you'll even see the video that she put together.  Didn't I tell you she was awesome! 

I thought to myself... self, I think this is going to work.  I pulled out that old crappy paper that I've had for years from when I first started scrapbooking and didn't know any better... lol ... and decided to create my boxes out of that paper.  It's called "using your stash" .... and yes, I have lots of it.  But that was a lot of cutting to the point where I actually wore out a blade on my Cricut.

So, without further ado... here are my cricut cartridges in their new home.

Yes, there are some empty spaces.  I seem to have hidden some cartrridges in my room from myself.   And I created space holders for some new cartridges that I have on order.

I also found these labels that fit perfectly on the boxes.   They are the Avery 5422 Multi-Use Labels.  There are 42 sheets for a total of 840 labels.

One last thing, I store my overlays and books in those photo boxes that you can get at Joann or Michaels.  They work out perfect for me.

Monday, August 22, 2011

Cigar Box Swap #2 - Sewing Theme

We've been having oodles of fun over at Stampin Dymonz Scrap Shack .   A second cigar box swap was announced and I snuck in barely.  Who could miss out of the fun!  Surely not I.  This one really took off.  One of the requirements was to make a pin cushion to go with the goodies to your swap mate.  Again, you don't know who has your name, but you can add a comment of your wants and needs, etc.

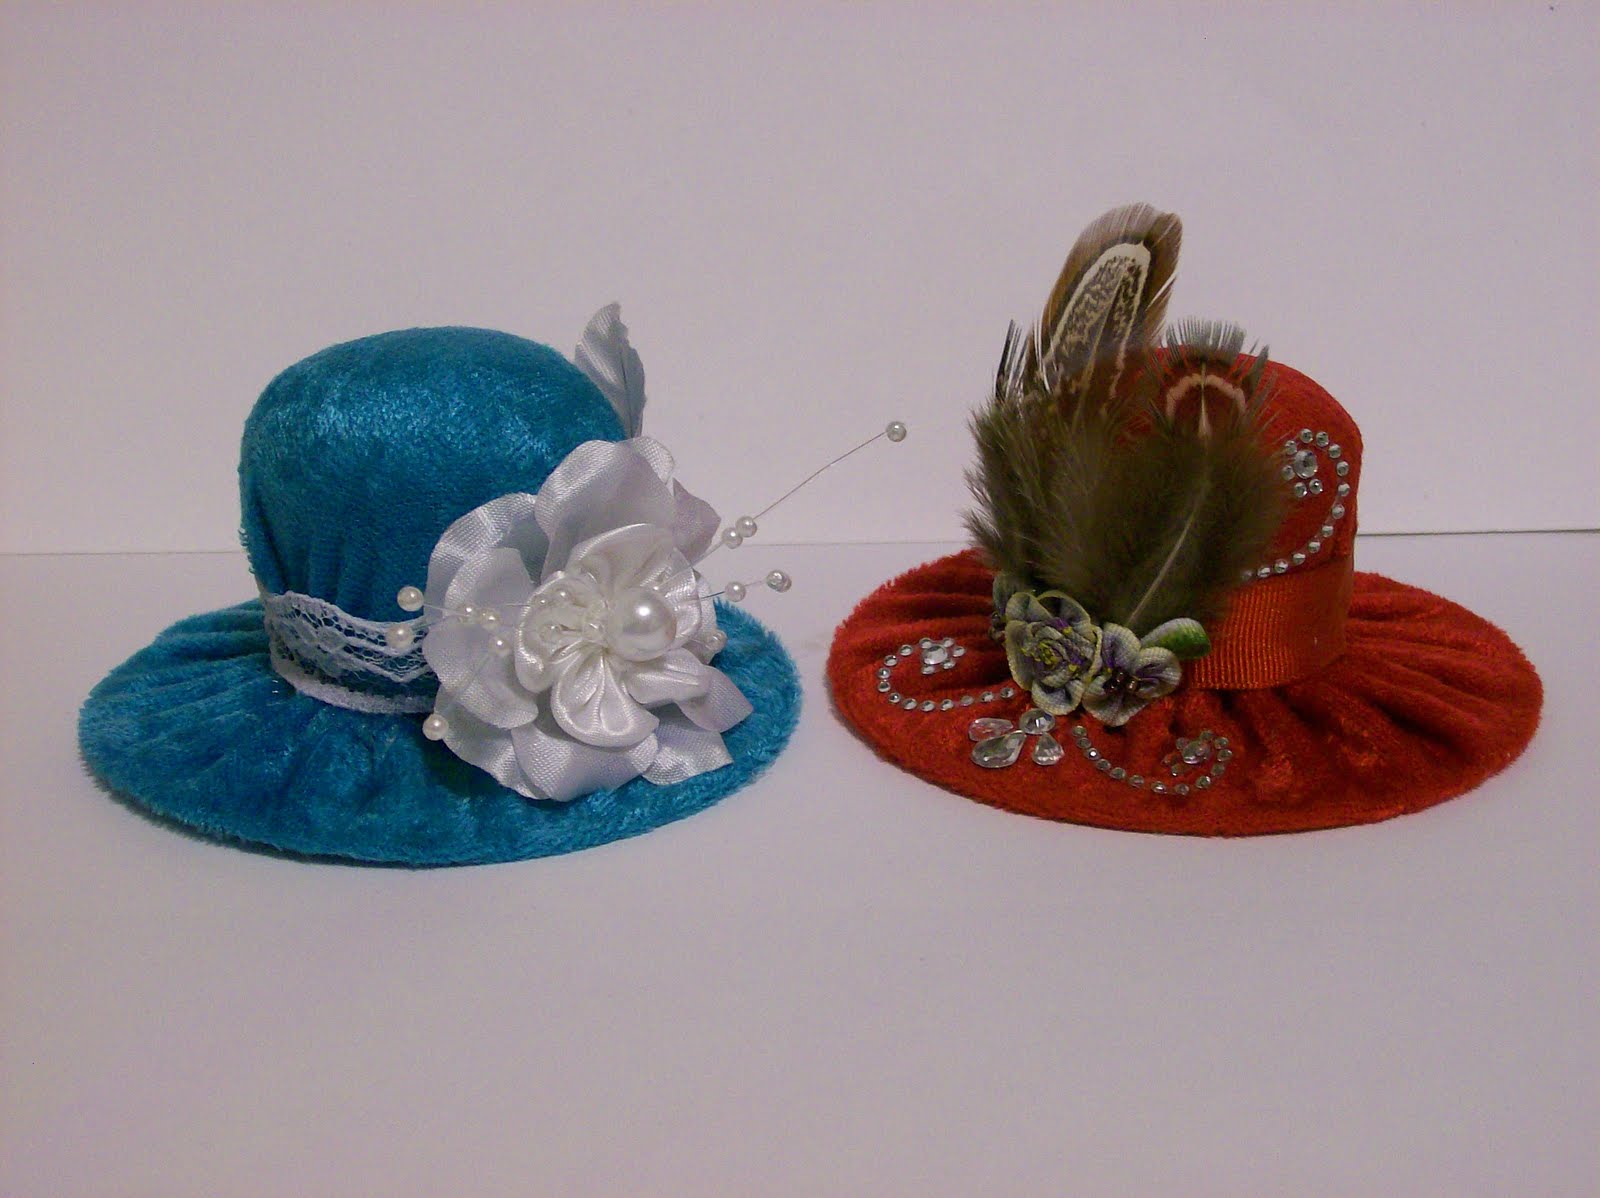
Along comes Ms Dee from Dee's Special Things with so much enthusiasm and creativity.  I don't know where she gets the energy nor the time.  She had shared some creations she'd done in the past on making hat pin cushions, and that just got everyone to creating.  So I went searching for a video on how to do them, posted it and Ms Dee put one together for us to view.   She put dimensions in her video which made it quite easy to follow.  And, of course, we all had to try our hands out at this.  So I put together these:

 So of course, I had to see if I could make it smaller and off I went and produced the little purple one.  They are too cute.

Then, back to the task at hand.  I needed to decide on how I was going to create this cigar box and make it worthy of giving to someone.  I think it turned out quite well.

Then Lia, had to show us what she was creating for a pin cushion in the form of a dress form.  So amazed at the talent that these ladies have.  You can find Lia here .  I'm planning to bottle up these ladies energy.  Seriously.  So off again I went to create my dress form pin cushion.  I haven't finished the final details on this, but want you to see it.

I burned the crap of my finger with the hot glue gun.  Word of advice... watch what you're doing when there are holes in what you're gluing, for hot glue will come out of the other side.  LOL!

Well, I found all sorts of goodies to buy for my swap partner.  I can't say who is getting this box because she hasn't gotten it yet and I want it to be a surprise.  I'll update this post later with the actual pics of the box, but for now, here is what she is getting.

LOL!  I know thats mean , but I just love my packaging.
I posted this little video as a teaser.

Sunday, August 21, 2011

A Vintage Cigar Box Swap

I've been crafting, but no time to post what I've been up to.  So, I'll try to play catch up this week.
Recently, I've been doing some swaps over on Stampin Dymonz Scrap Shack and having lots of fun.  Although work has been keeping me busy, I've been trying to make time for myself as time permits.


I signed up for an altered cigar box and had a wonderful time doing it.  It was an anonymous swap, so the person whom you were creating for did not know who had their name.  You were asked to send in your favorite colors , along with a wish list of things you'd like to have.


Wouldn't you know it.  I was given the blog owners name and really wanted to do something special for her.  I had originally met her on the Cricut messageboard and have corresponded with her since she first started scrapbooking.  She really took off flying on her creativity.  I'm not sure where she gets the time to do it all, but I'd sure like to have some of her energy.


Her favorite color is green and I found this awesome K& Company paper that just had her name written all over it.  Then I sat out to find an authentic cigar box.  I found one at one of the local smoke shops here and have been going back from time to time to get more to add to my stash for future alterings.


I should have taken a before picture of the box, but I forgot to do so.
Well, here are the pictures of what it all looked like at the end. 


This is the box prior to finishing it up.


Showing the side of the box


I used the Tim Holtz feet to lift it up


Final outcome of the box.  I think it was tastefully elegant.


Inside of the box.

Recipe: 
Original Cigar box
Tim Holtz Feet
Fringe ribbon from local fabric store
Flowers from local fabric store
Lacy Trim
String Pearls
K& Company patterned paper
Recollections Rhinestones
Paint
Mirror

It's Been a Long Time

Work is interfering with my leisure life.  I have been crafting, but not having time to update my blog.  I will try to do better.
Related Posts Plugin for WordPress, Blogger...