One of the ladies on the SOC website is participating in a blog hop in honor of one of the scrappers that was recently diagnosed with Breast Cancer.
So, hop on over to Sharon's blogspot and follow along to see the beautiful artwork that each one of the participants has created to honor Sherry Goodloe.
Friday, October 15, 2010


Breast Cancer Awareness ATC's
I also made these up to give to friends to put on their refrigerator doors.
Images by Bugaboo Stamps ... and I just love this image.

Images by Bugaboo Stamps ... and I just love this image.

Stella
Breast Cancer Awareness Cards
I'm still making and creating all sorts of things to commemorate Breast Cancer Awareness. Every year, I usually send out emails to all of my female friends with reminders to do their monthly breast exams and to also have their yearly mammograms if they haven't already. This year, I decided to do it differently. I've created some cards that are going in the mail to put the reminders right in their face. This way, they just can't delete it... hopefully they will put the reminder where they can actually see it and take action.
I found these cute Breast Cancer Digi images from Bugaboo . It was a series of 7 with matching sentiments. For this set, I colored the skin tones with Copic Markers , but for everything else I used Glitter Puffy Pants. The patterned paper is from Making Memories Slice Breast Cancer line.


I found these cute Breast Cancer Digi images from Bugaboo . It was a series of 7 with matching sentiments. For this set, I colored the skin tones with Copic Markers , but for everything else I used Glitter Puffy Pants. The patterned paper is from Making Memories Slice Breast Cancer line.

Ruby

Vivian

Meg

Penny

Beth

Twyla
Recipe:
Bugaboo Breast Cancer Digi Stamps and Sentiments
Making Memory Slice Breast Cancer Paper
Bazzill Cardstock
Glitter Fabric Puffy Paint
Copic Markers
Tim Holtz distress ink
Ribbon from my stash
Monday, October 11, 2010
Another Challenge for Breast Cancer Awareness
In honor of Breast Cancer Awareness month, I will be participating in as many things as possible to keep Breast Cancer Research and Awareness in the forefront of everyone's mind.
Another challenge was posted yesterday on the Scraps of Color website to create a layout scrapping Breast Cancer Awareness. The details are as follows:
Scrapbook a survivor, someone who has gone before us, someone in the struggle or perhaps just a page to encourage your sistahs to get mammograms, do self-exams or just to honor BC Awareness in general. You decide.
Layouts must:
Here's my spin on the challenge:

Another challenge was posted yesterday on the Scraps of Color website to create a layout scrapping Breast Cancer Awareness. The details are as follows:
Scrapbook a survivor, someone who has gone before us, someone in the struggle or perhaps just a page to encourage your sistahs to get mammograms, do self-exams or just to honor BC Awareness in general. You decide.
Layouts must:
- use the color PINK!
- have a title.
- have at least 2 cardstock and 2 patterned papers.
- Must include journaling.
- Must include ribbon and bling.
Here's my spin on the challenge:

Breast Cancer Challenge Card
October 1st marked the start of Breast Cancer Awareness month. I am a big supporter of Breast Cancer Awareness and I try to do my part in any way that I can. Unfortunately, I'm unable to walk in the state Susan G. Komen 3-day 60 mile race, but hopefully next year, things will go my way and I'll be able to particiapate once again.
On the Scraps of Color website, a challenge was issued this past weekend to use a free digi background that was put out by Two Peas In a Bucket and to create a card.
This is my take on the card:

On the Scraps of Color website, a challenge was issued this past weekend to use a free digi background that was put out by Two Peas In a Bucket and to create a card.
This is my take on the card:

Recipe:
Digi stamp background from Two Peas in a Bucket
Prima and Bazzill Flowers
Ribbon from my stash
Rhinestones
Coredinations Gemstone Cardstock
Cricut Cartridge - Pink Journey
Some Birthday Cards
I can't get off this card kick that I'm on. I know its probably because its so much easier for me to make a card than it is to do a layout.
While browsing one of the magazines looking for inspiration, I saw these cards and decided to make them up. It featured paper packs that I had and thought, what the heck. The magazine is called Paper Creations and this is from the Fall 2010 edition.
The cards that I created are from page 48 - Elegant Birthday Classics. There were 3 cards and a scan and print sentiment that was found in the middle of the book.
Here's my take on the cards:


While browsing one of the magazines looking for inspiration, I saw these cards and decided to make them up. It featured paper packs that I had and thought, what the heck. The magazine is called Paper Creations and this is from the Fall 2010 edition.
The cards that I created are from page 48 - Elegant Birthday Classics. There were 3 cards and a scan and print sentiment that was found in the middle of the book.
Here's my take on the cards:

Black Velvet Flower and Diamond Birthday

Birthday in Paris (without Paris... lol)

White Floral and Striped Happy Birthday
Recipe:
DCWV La Creme Stack
Rhinestones
Tsuneiko Chalk Ink
Preprinted sentiments
Fiskars Basket Weave Corner punch
Wednesday, October 6, 2010
First Day of School
My grandson is now 5 years old and started Kindergarten this year. So Grandma had to be there for the big event. He's so big and think he's grown. I've not worked on any layouts in a while, so while I was attending a scrapbook retreat 2 weekends ago, this was one of the things that I had planned to do. I remember when it was announced that there was going to be a little one in my life, I didn't want to be called "grandma".... but now, I proudly wear that title.


Recipe:


Recipe:
DCWV Grade School Stack
Bazzill Cardstock
Cricut Cartridge - Locker Talk
Thursday, September 23, 2010
Halloween Card - Curler Lady
On my SOC website group, we had did an image exchange of African American images. As you know, and if you don't, you know now.... there aren't a lot of African American images in production. Trying to find them can be quite challenging. I've been thinking hard about having my son design new ones for me to have made up.
This past wkend, there was a challenge to take this one image and have everyone make a card from it. Ok..... I take that back... it was 2 wkends ago. LOL! So, I wanted to do something different and out of the ordinary from me. I had found the MS Halloween paper at Big Lots a while back and taken it with me, not with the intent to do this card, but to work on some Halloween cards. Needless to say, it was the only thing that I completed that night in 3 hrs. Yes, I said 3 hrs. I got there late and then I was so wound up that I spent most of the night talking to friends and shopping at the garage sale (sale of merchandise you no longer need in your stash). Ohhhh, the things that I bought and yes.... I needed also. But thats a story for another time.
So... here's the card. I laugh when I look at this.

This past wkend, there was a challenge to take this one image and have everyone make a card from it. Ok..... I take that back... it was 2 wkends ago. LOL! So, I wanted to do something different and out of the ordinary from me. I had found the MS Halloween paper at Big Lots a while back and taken it with me, not with the intent to do this card, but to work on some Halloween cards. Needless to say, it was the only thing that I completed that night in 3 hrs. Yes, I said 3 hrs. I got there late and then I was so wound up that I spent most of the night talking to friends and shopping at the garage sale (sale of merchandise you no longer need in your stash). Ohhhh, the things that I bought and yes.... I needed also. But thats a story for another time.
So... here's the card. I laugh when I look at this.

Recipe:
MS Halloween Paper (double sided)
Gemstones Orange Cardstock
Rhinestones
Glitter
Ribbon (from girlfriends stash)
Cuttlebug embossing folder - SpiderWeb
Stamped Image - Curler Lady
MS Border Punch
Copic coloring
Re-Tweet T-shirt
I'm so far behind in posting and I guess that has to do with the fact that I've not done much this month. I'm in the midst of moving my mom in with me and having to do a major downsize at my house.... which means, clearing out the spare bedroom for all of her stuff. I'm also having to pack up her apartment and really downsize a lot of her stuff because there is no where for it to go at my place. So needless to say, packing two places has been a chore in itself. I've had a little help with her bedroom from a dear friend. She's been getting mom to give away a lot of unnecessary items as we go thru her belongings. I've not had the patience it takes to do it with her, and this friend has been a God send indeed.
So without further ado.... I had already saved up and paid for a weekend scrapbook retreat with my local monthly scrapbook group. This is going to be 55 non-stop hours of scrapbooking with friends at one of the hotels here. I am oh so ready for this weekend. I invited a friend from Northern AZ to join me in this madness. She knows who she is and I'm so grateful to have a maniac friend like her to come down and spend some time with me.
My group is called the Scrapbook Chicks. So the retreat is called the Scrapbook Chicks Re-Tweet. How stinkin' cute is that. LOL! I found this most fitting material at Joann Fabrics and Crafts to make up our special t-shirts for the event. It was Debbie Mumm material... and it couldn't have been more perfect if I had designed it myself.


So without further ado.... I had already saved up and paid for a weekend scrapbook retreat with my local monthly scrapbook group. This is going to be 55 non-stop hours of scrapbooking with friends at one of the hotels here. I am oh so ready for this weekend. I invited a friend from Northern AZ to join me in this madness. She knows who she is and I'm so grateful to have a maniac friend like her to come down and spend some time with me.
My group is called the Scrapbook Chicks. So the retreat is called the Scrapbook Chicks Re-Tweet. How stinkin' cute is that. LOL! I found this most fitting material at Joann Fabrics and Crafts to make up our special t-shirts for the event. It was Debbie Mumm material... and it couldn't have been more perfect if I had designed it myself.

Then I threw in this little surprise on the back.

Don't ya just love it!!!
Friday, September 3, 2010
Wall Hangings
So I decided to try my hand out at putting images on Canvas . I think they turned out nicely. I have some friends with little ones and thought I needed to do something special for their bedrooms.
I had gotten some images from Mo's Digital Pencil and went to work. I enlarged them to an 8.5 x 11 inches and then cut them done to fit the canvas. I picked up the canvas from Big Lots. Painted the canvas with paints ( Making Memory brand) .... and then applied the copic colored pictures to that. I mod podged the entire image and canvas so that the little ones can actually put their fingers on the prints. I didn't embellish them a lot because I didn't want little things to get in the mouths of the babes.


I had gotten some images from Mo's Digital Pencil and went to work. I enlarged them to an 8.5 x 11 inches and then cut them done to fit the canvas. I picked up the canvas from Big Lots. Painted the canvas with paints ( Making Memory brand) .... and then applied the copic colored pictures to that. I mod podged the entire image and canvas so that the little ones can actually put their fingers on the prints. I didn't embellish them a lot because I didn't want little things to get in the mouths of the babes.


Sorry for the glare of the images... but I forgot to retake them before they were given away. The Gymnast..... for some reason I can't find what I did with the image for that completed canvas. It's pissing me off. LOL!
Sunday, August 8, 2010
A Birthday Card Challenge
Over at one of my favorite websites ... Scraps of Color ... this weekends challenge was to make a birthday card. There were no directions or restrictions... just make a birthday card.
So I was looking through my stash of rubber stamps and saw this one that I had bought earlier this past year. Since I've been really playing around with my copic coloring, I decided to color it in and use it on a card. I chose an easel type card and went to work selecting the cardstock and patterned papers to go with.


So I was looking through my stash of rubber stamps and saw this one that I had bought earlier this past year. Since I've been really playing around with my copic coloring, I decided to color it in and use it on a card. I chose an easel type card and went to work selecting the cardstock and patterned papers to go with.

And opened up:

Recipe:
Popcorn the Bear Rubber Stamp set (Crafters Companion)
DCWV Patterned paper
Plain Cardstock from my stash
Rhinestones
EK Success Cupcake border punch
Copic inks
Smooch ink on the balloons
Wednesday, August 4, 2010
Wow! Let's win a Silhouette Machine!!
Hey Everyone! I found out about an online contest in which one can possibly win a brand new Silhoutte.
Check out this blog ... free-silhouette-craft-cutter-giveaway
Check out this blog ... free-silhouette-craft-cutter-giveaway
Sunday, July 25, 2010
A Weekend of Card Making
In browsing through my stamps and images, I decided I needed to work on some Copic coloring. Although I didn't do any blending techniques, I got a lot of cards colored up and ready to be put on cards. I had joined a birthday card swap and its due in a few days... YIKES!!! ..... and was having a hard time deciding what to make for this swap.
Earlier this week, I went to a friends home who had invited a bunch of us over for a day of scrapping, chatting and eating. Well, my birthday was on Tuesday and I've been staying up late doing all sorts of things... so I finally showed up around 1230 ish... ok... it was more like 1pm. LOL! Who am I fooling. Her hubby created a scrapbook room for her, so I had to go take a look. We were scrapping in the kitchen at a big table. She also sells CTMH stamps, so while in there, of course I had to take a look. I told her I was looking for a fun birthday stamp and we searched til I found just the right one. I also went home with a lot of other ones that she let me borrow to stamp. She mentioned that she was getting pegboard to put on one of the walls. I told her not to get any. She gives me this look ... as if to say "why not". Well, over a year ago, I went to Lowe's and got some peg board. I had it cut to size and also board some other wood to back it with so it would sit off of the wall. I spray painted it white.. and there it has sat on my floor all that time. I ended up using that wall space for something else ... so we made a trade for it. Everything works out well in the long run.
So here's the card I did for the swap. Shhhhhhhh, don't tell cause I don't want them to see it yet. LOL! Yeah right! I finished most of these last nite at the LSS midnite mania. Had to wait til I got home to attach the sentiment since the printer there was out of ink.

Then I had stamped all of these images that I have from company called Stamp Affair . Since I knew I was going to be working on cards all night, I went prepared. This is what I ended up with after 5 hrs of scrapbooking.


Earlier this week, I went to a friends home who had invited a bunch of us over for a day of scrapping, chatting and eating. Well, my birthday was on Tuesday and I've been staying up late doing all sorts of things... so I finally showed up around 1230 ish... ok... it was more like 1pm. LOL! Who am I fooling. Her hubby created a scrapbook room for her, so I had to go take a look. We were scrapping in the kitchen at a big table. She also sells CTMH stamps, so while in there, of course I had to take a look. I told her I was looking for a fun birthday stamp and we searched til I found just the right one. I also went home with a lot of other ones that she let me borrow to stamp. She mentioned that she was getting pegboard to put on one of the walls. I told her not to get any. She gives me this look ... as if to say "why not". Well, over a year ago, I went to Lowe's and got some peg board. I had it cut to size and also board some other wood to back it with so it would sit off of the wall. I spray painted it white.. and there it has sat on my floor all that time. I ended up using that wall space for something else ... so we made a trade for it. Everything works out well in the long run.
So here's the card I did for the swap. Shhhhhhhh, don't tell cause I don't want them to see it yet. LOL! Yeah right! I finished most of these last nite at the LSS midnite mania. Had to wait til I got home to attach the sentiment since the printer there was out of ink.

Recipe:
Penny Black Stamp - Toadily Yours
Copic inks
AC Paper - Cardstock and Patterned
Ribbon from my stash
Computer Generated Sentiment
Then I had stamped all of these images that I have from company called Stamp Affair . Since I knew I was going to be working on cards all night, I went prepared. This is what I ended up with after 5 hrs of scrapbooking.


Recipe:
Heritage Collection Stamp - Tiger Wrap
Copic Coloring
DCWV African Safari Stack
DCWV Shimmer Stack
Rhinestones
Ribbon from my stash


Recipe:
Rubbernecker Stamp: Shantay
Rubbernecker Stamp - Sentiment
DCWV Shimmer Stack
Patterned Paper - Various (DCWV, Basic Gray, AC)
Copic Coloring
Rhinestones
A Layout Challenge
One of the Sistah's on the SOC website posted a 2 week layout challenge on her blog... Jazzy Paper . So I had time this weekend after working on some other cards for another swap and decided to give this one a go.
After finding a stamp in my stash this weekend and doing a lot of copic coloring with it, I decided that this was the one for this challenge.

After finding a stamp in my stash this weekend and doing a lot of copic coloring with it, I decided that this was the one for this challenge.

Recipe:
Stamped image : Tiger Wrap (Heritage stamp)
DCWV - Red Shimmer Paper
Coredinations Gemstones White Cardstock
Craft Essentials Flower
Adhesive Ribbon
Rubon Letters - Simply Sweet from Doodlebug Design
Copic Inks - N3, R46, E25
Wednesday, July 21, 2010
A Mini Mini Purse Album
I had this idea stuck in my head all day. So when I returned from my outing today, I sat down and started to work on this. Sometimes, I just can't stop til I get something finished. With the exception of the dangling bling that I need to add to this, I think this turned out pretty nice.
This was cut at 4.25" x 3" .


This was cut at 4.25" x 3" .

The handle was one that I created from my leftover bead stash from my jewelry days.


And here's a comparison of the full sized purse to the mini-mini.

Recipe:
Chipboard
Outer Patterned paper from Joann's - Sand Rain Drops
Inner Patterned Papers - DCWV Rustic Stack
Bazzill Flowers
Rhinestones
1" Binder Rings
Eyelets
Tuesday, July 20, 2010
Mini Purse Albums
I am in love with creating these! Not too long ago, Kathy from Paper Phenomenon posted a kit for Mini Purse Albums. I looked at what she did and said "Wow"... Amazing!! She does some incredible work and I'm not sure when she finds the time to do all of her creating since she does work a full-time job.
So anyways, the day that she was doing the online video stream tutorial, I wasn't home. But later on, I went back and reviewed the Ustream video so that I could follow along and create my mini album. I sat down and created my first one...


So anyways, the day that she was doing the online video stream tutorial, I wasn't home. But later on, I went back and reviewed the Ustream video so that I could follow along and create my mini album. I sat down and created my first one...

It now has a nice embellishment on the front.... just didn't feel like retaking the picture.
I liked the way it came out, so this weekend, I created 2 new ones. These will be for gifts.

This green paper looks just like alligator skin. I found a different button for this green one... but put the flower on there as a place holder. Again... I'm too lazy to retake the picture.
And this one.... I really love. I might have a hard time parting with it , but I know it will be truly loved.

and check out the inside of this one. I just love it.

Recipe:
Chipboard
Patterned paper from Joann's
Purse Handles .. from Joann's
Embellishments ... from Joann's and Michaels
Binder Rings
Eyelets
Sunday, July 18, 2010
A New Baby Card
My grandson's mother just had a new baby via emergency C-section on Thursday. She was induced, but complications arose. Yesterday, I picked up my grandson from her mom for my son... whew... that was lengthy. I told her that I would bring the little man there to see his mom today for a brief visit. No, this is not my newest grandbaby. LOL!
So being the person I am, I sat down this morning and made her a card.
On one of my favorite websites, one of the ladies shared a link to a Triple Tier Slider Card ... so I went to check it out. She also had a video of how to put it together. You can find it here .... Stamp With Heather
So here's what I made:


So being the person I am, I sat down this morning and made her a card.
On one of my favorite websites, one of the ladies shared a link to a Triple Tier Slider Card ... so I went to check it out. She also had a video of how to put it together. You can find it here .... Stamp With Heather
So here's what I made:


Recipe:
SU Stamp and Sentiment
MS Cardstock
Nana's Nursery Baby Boy Stack
Bic Mark It Markers
Saturday, July 17, 2010
Another Take on the Buried Treasures Challenge
I'm still wide awake when I should be sleeping... so what better thing to do than to make another card.
Here's another take on the Buried Treasures Challenge.
This time I used all of the stamps in the SU set Echoes of Kindness.

Here's another take on the Buried Treasures Challenge.
This time I used all of the stamps in the SU set Echoes of Kindness.
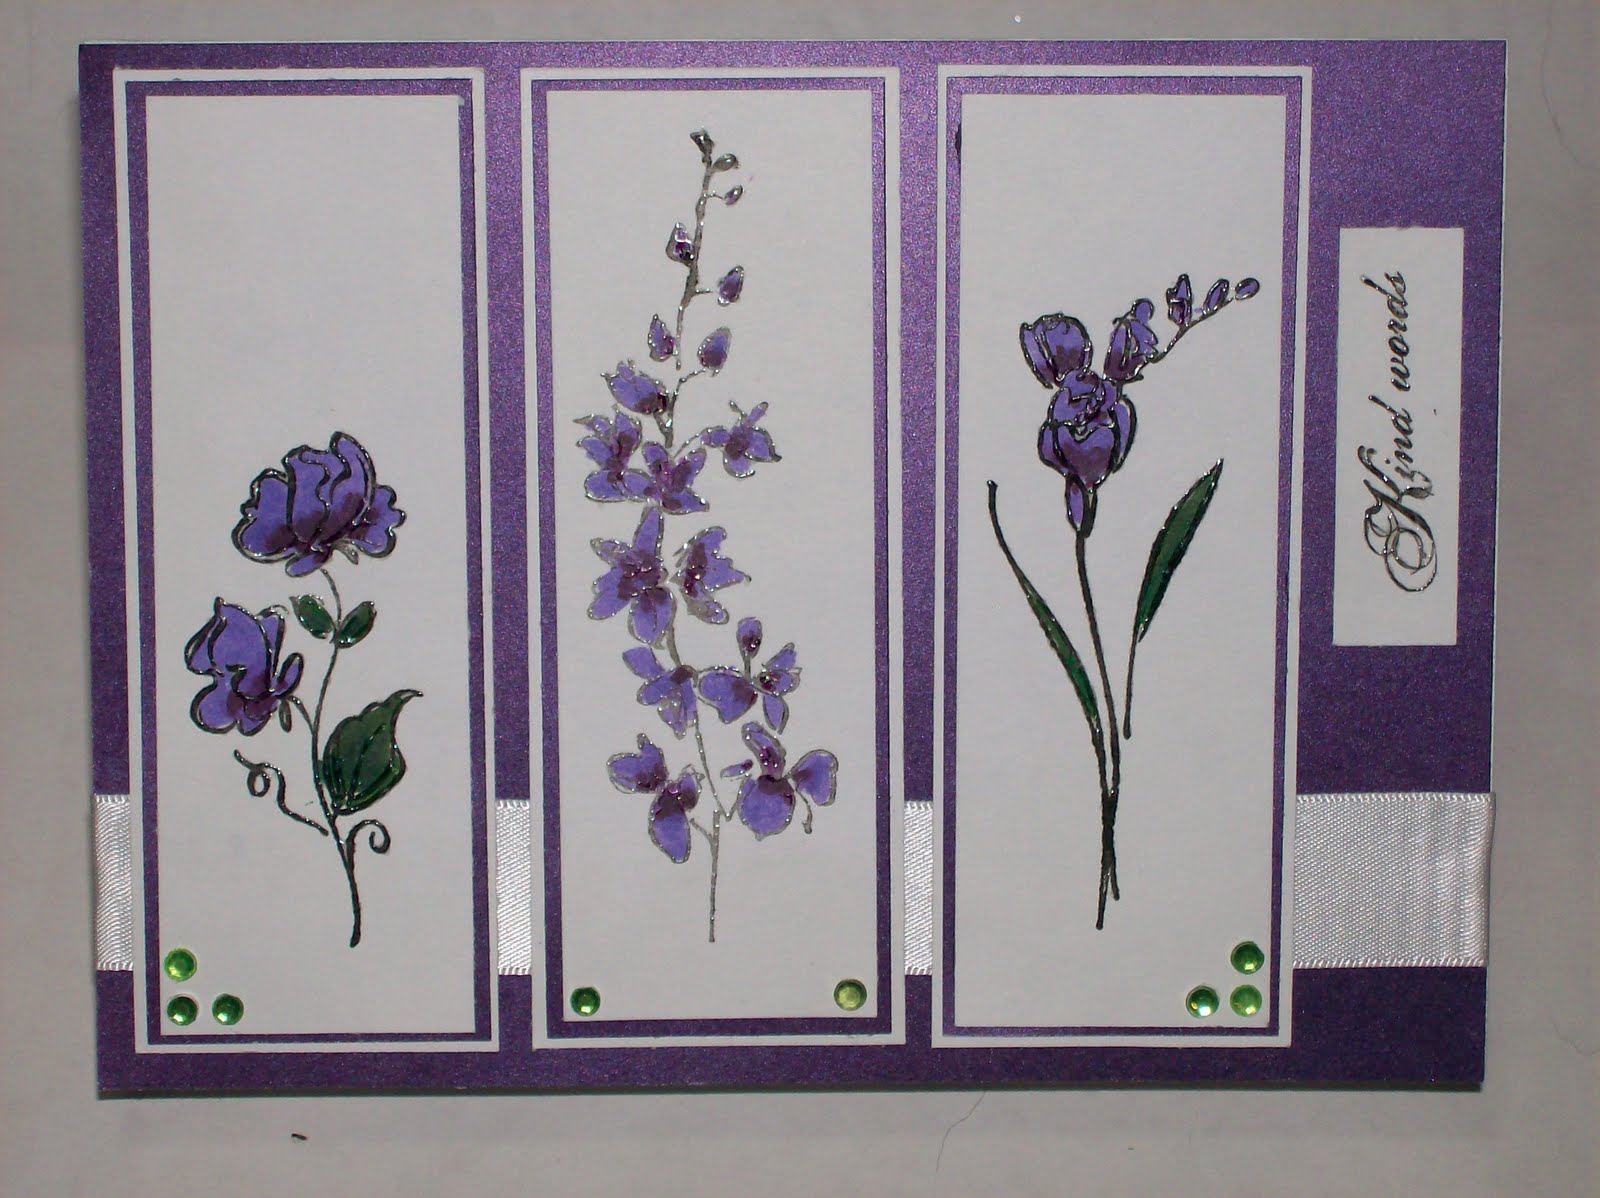
I took part of the sentiment for the front of the card and then used the rest on the inside:

Recipe:
DCWV Shimmer Stack
SU Set - Echoes of Kindness
BIC Mark It Markers
White Ribbon from my stash
Rhinestones
Buried Treasures Challenge
I was up late chatting with some scrappy friends on the SOC website and decided to get scrappy while chatting. Of course , it takes longer to get something accomplished... but you can get it done.
A challenge was posted at the beginning of the month to find some buried treasures in your home that you'd not used. Some people buy things because they need them right then and there, and there are others that buy things just because. I'm both of those people. I'm a tool junky and gotta have them regardless whether I use them right away or later on down the road.
Well, this week, I went in the depths of my spare bedroom where I had stashed my jewelry supplies ... looking for my pliers that I needed to put a clasp on a mini album that I've been working on. As I was stepping... or shall I say... climbing from the other side of the bed.... I spotted these bags. So of course I had to take a look and see what they were.
In one bag, there were 2 brand new, unopened Cricut cartridges. I don't know when I put them in there and why, because my cricut machine is in my craft room. I'm ashamed to say when I bought them for I truly had forgotten that I had them and had repurchased those 2 cartridges. In the 2nd bag, there were 4 EK success punches.... 2 of which I must have used because they weren't in the packaging.... lol... thats a good sign. The 3rd bag contained 7 sets of SU stamps. One of the sets had been used and the others were still never assembled. I found that one of the stamp sets... I had previously purchased and didn't realize that either. But its all good, because I had hosted the SU party and the duplicate stamp set was a freebie (eventhough now that I think of it, I could have gotten something else... oh well.)
So my buried treasure that I used was one of the SU stamp sets called Echoes of Kindness. I went to the Split Coast Stampers website to do a search on that set for some inspiration. I found lots of good possibilities. This one really stuck to me. One of the techniques on this card in addition to using the stamp, was a technique called Lattice Folding. I'd not seen that before and thought I'd give it a whirl. It led me to a tutorial on how to do the lattice folding .... and you can find it here... Lattice Folding Technique .
So here's my card created from my buried treasure:
The stamping was done with pigment ink and embossed with Utee embossing powder, then colored with BIC mark it markers.


A challenge was posted at the beginning of the month to find some buried treasures in your home that you'd not used. Some people buy things because they need them right then and there, and there are others that buy things just because. I'm both of those people. I'm a tool junky and gotta have them regardless whether I use them right away or later on down the road.
Well, this week, I went in the depths of my spare bedroom where I had stashed my jewelry supplies ... looking for my pliers that I needed to put a clasp on a mini album that I've been working on. As I was stepping... or shall I say... climbing from the other side of the bed.... I spotted these bags. So of course I had to take a look and see what they were.
In one bag, there were 2 brand new, unopened Cricut cartridges. I don't know when I put them in there and why, because my cricut machine is in my craft room. I'm ashamed to say when I bought them for I truly had forgotten that I had them and had repurchased those 2 cartridges. In the 2nd bag, there were 4 EK success punches.... 2 of which I must have used because they weren't in the packaging.... lol... thats a good sign. The 3rd bag contained 7 sets of SU stamps. One of the sets had been used and the others were still never assembled. I found that one of the stamp sets... I had previously purchased and didn't realize that either. But its all good, because I had hosted the SU party and the duplicate stamp set was a freebie (eventhough now that I think of it, I could have gotten something else... oh well.)
So my buried treasure that I used was one of the SU stamp sets called Echoes of Kindness. I went to the Split Coast Stampers website to do a search on that set for some inspiration. I found lots of good possibilities. This one really stuck to me. One of the techniques on this card in addition to using the stamp, was a technique called Lattice Folding. I'd not seen that before and thought I'd give it a whirl. It led me to a tutorial on how to do the lattice folding .... and you can find it here... Lattice Folding Technique .
So here's my card created from my buried treasure:
The stamping was done with pigment ink and embossed with Utee embossing powder, then colored with BIC mark it markers.


Then I decided that it was missing something, so I went back and added some bling:

Recipe:
DCWV Summer Stack patterned paper
Regular Cardstock from my stash
SU stamp set - Echoes of Kindness
Rhinestones
Ribbon: Prestige (M's Dollar bin ribbon)
BIC Mark It Markers for the coloring of the stamp
Subscribe to:
Posts (Atom)


 Posts
Posts


